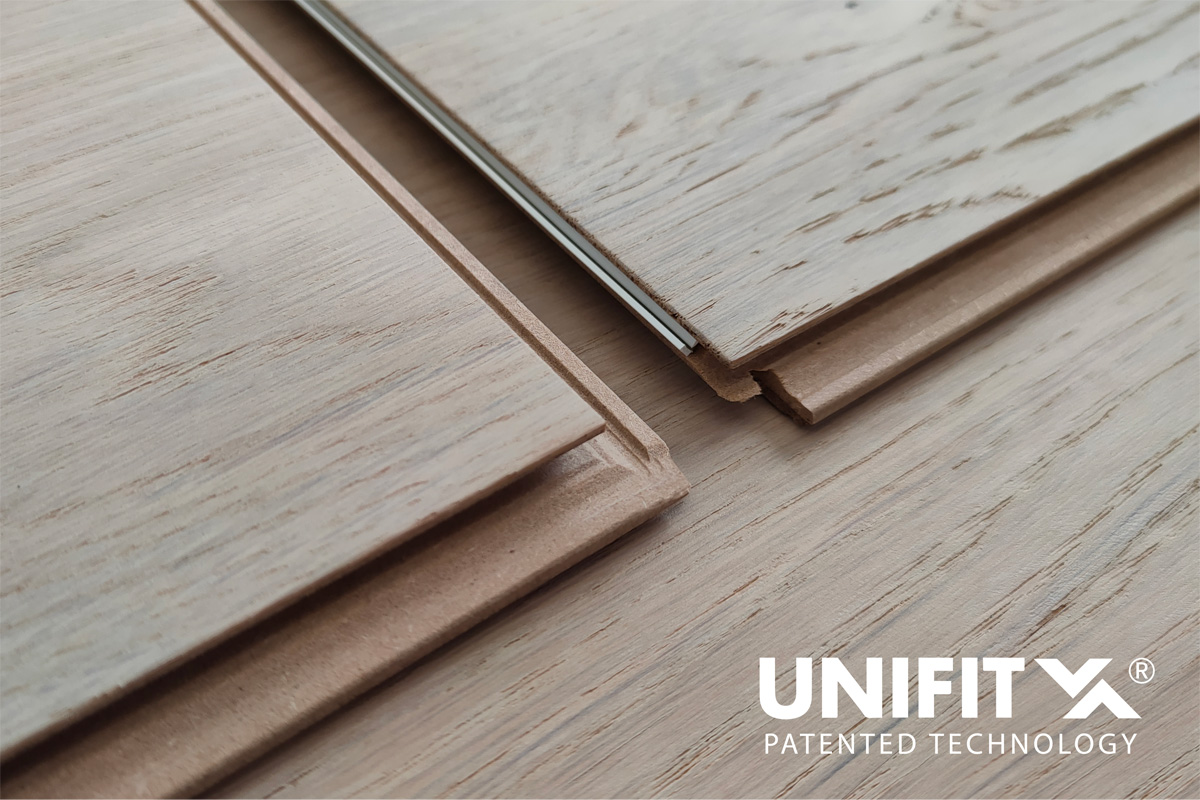
UNIFIT X. A flooring installation system for everyone
If you are renovating your home, we know you are investing a lot of time and money, because you obviously want the best. So here is just a little advice, so you can save money without sacrificing product quality. It is possible to lower your labor budget, thanks to new technologies. With the UNIFIT X system, you will be able to install the floor of your own house yourself in a simple way and save calling an installer, so you can invest your renovation budget in other important issues.
We'll tell you all about it.
What is the Unifit X installation system?
It is a patented technology that we use in our natural wood floors, with a click system, will allow a easy installation. It will make the whole process fast and hassle-free. The tongue and groove joint has evolved into this system, which means that the wood planks do not uncouple thanks to this link.
The Unifit X system allows the click connection on the long side to be compatible with the connection on the short side of the wood panel. This will allow us to lay our flooring by creating multiple flooring patterns, such as herringbone, chevron and others.
In terms of installation, Unifit X offers us three installation possibilities; folded, tilted and hooked. This will further contribute to a quick and easy installation for any floor pattern.
Once the planks are fitted, the system vertically locks the entire width of the panel lengthwise, preventing any movement or slippage, so that the floor is perfectly secured.
We are going to summarize the steps in the installation process, although you can find more precise and graphic instructions on our website.
We will detail it in these steps:
Prepare the floor of your home. Just be careful with the first steps. Make sure the surface where you are going to lay your floor is clean and well leveled.
Lay the insulation. Laying an insulating underlayment is highly recommended. We can protect our floor from humidity and other external factors that could come through the solid floor.
Expansion joints. Due to climatic conditions, the material can contract o expand, so it is recommended to give a separation of 10 mm between floor and fixed elements.
Lay the first row. The slats should be placed from the left to the right side and from the inside to the outside of the space. On the first plank we will cut the tongue at the end of the wall.
Place the second row. With the rest of the board of the first row, we will begin to install the second row, so that it is a placement of slats with a nice and unique pattern.
Click joint. The slats of the second row should be slid at an angle through the groove of the pieces of the first row, and fit the pieces with the distinguished click.
Last row. In this last row, we must also make sure to comply with the 10 mm of separation with fixed elements such as walls and pipes.
Finished: Your floor is now installed! Remove the wedges and install the skirting boards by fixing them to the wall to instantly enjoy your new natural wood floor.
Share in Pinterest